

DIY COLORFUL POURED RESIN WALL ART
11:09 - 28/06/2018
Resin is a fabulous medium to use to make art. Check out this amazing Poured Resin Wall Art tutorial to learn how you can make your own amazing art using Envirotex Lite.
Resin is a fabulous medium to use to make art. Check out this amazing Poured Resin Wall Art tutorial to learn how you can make your own amazing art using Envirotex Lite.
POURED RESIN WALL ART SUPPLIES:
- Envirotex Lite resin
- Pigment dyes and/or acrylic paints
- Canvas, I found a wooden board as the canvas works best
- Stir sticks
- Disposable measuring cups
- Disposable craft brushes
- Latex or disposable gloves
- Paper towel
- Box or tray larger than chosen canvas
- Micro butane torch

PREPARING THE CANVAS:
I used large piece of scrap plywood that I had in my wood shop as the canvas. I’d highly recommend using a board rather than a stretched canvas. Both will work, but you need to be sure to support the center of the canvas, which can be tricky.
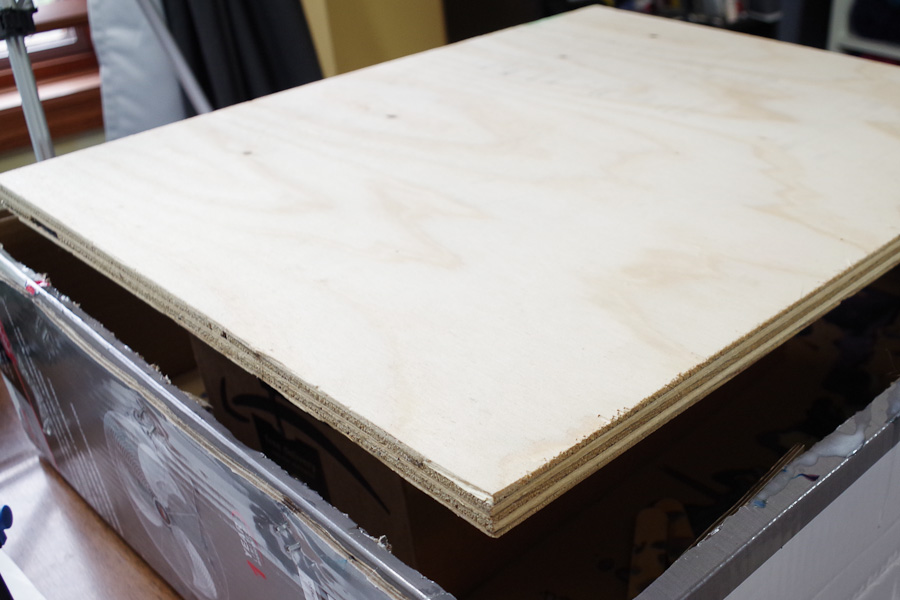
Be sure that your canvas, whatever you choose, is free from dust and debris.
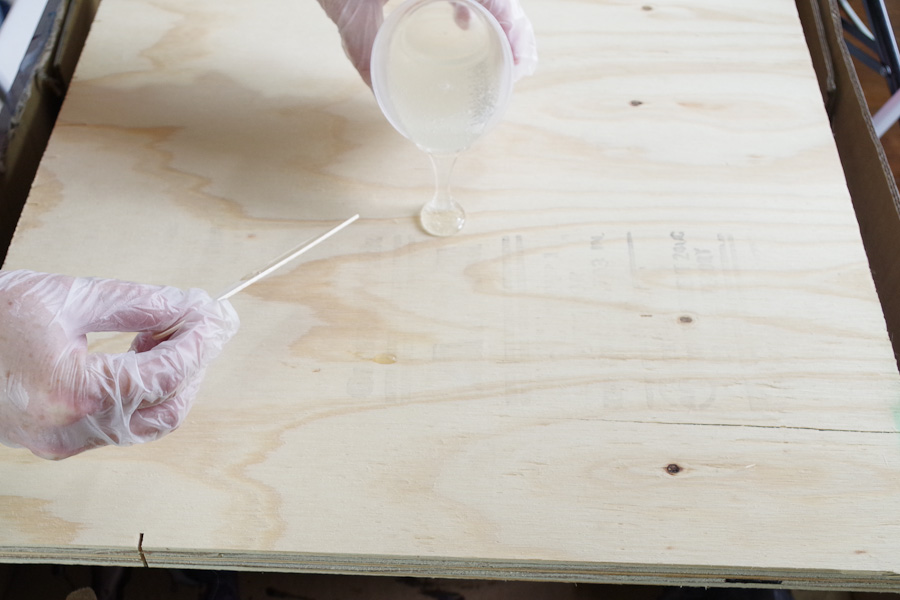
SEALING CANVAS:
Mix a few ounces of resin (instructions below) and spread it thinly across the canvas/board to seal the surface. Use your butane torch to pop any existing bubbles. This coat will help the resin to spread across evenly and will reduce the number of bubbles that arise later on. Wood especially tends to give off a lot of air bubbles if it is not properly sealed.
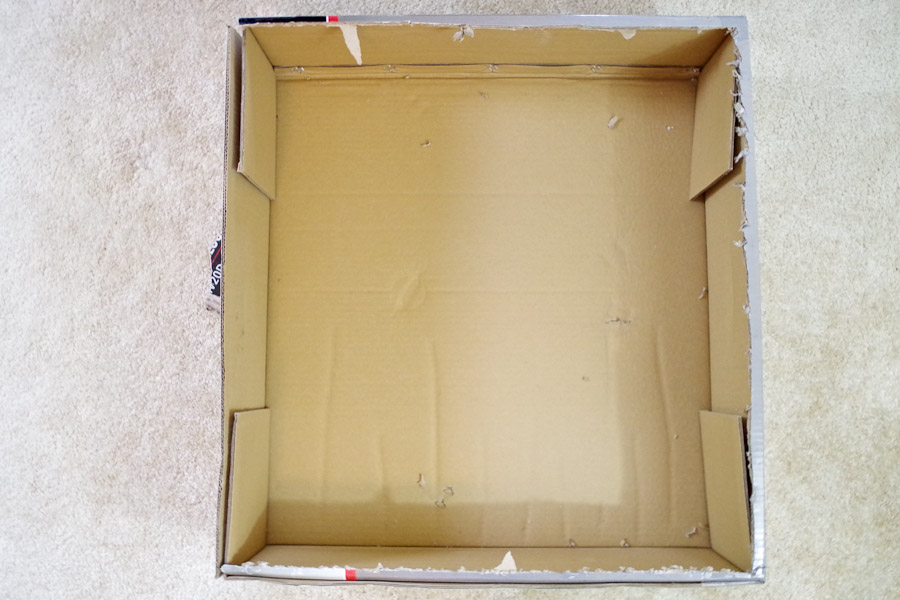
PREPPING WORKSPACE:
Resin is MESSY! You’ll want to use gloves for sure because it’s very hard to clean off your hands. You’ll also want to be sure you have a good box or layers and layers of newspaper, or something plastic that is bigger than your canvas in order to catch the drips that fall off the sides of your canvas. There will always be drips! Be sure to have some paper towels too just in case you spill a little.
ESTIMATING RESIN:
Envirotex Lite comes in two parts: Part A – the resin, and Part B – the hardener. For this art you’ll be mixing a lot of resin, so you’ll need quite a few cups. I think I used six total. Actually, the amount you need depends on the size of your canvas, and the packaging tells you how much you need. I used three 8oz. boxes. You can mix all of the resin at once in a large disposable container, then pour a smaller amount into each of the cups (for as many colors as you need) OR you can mix a couple smaller cups and still separate them into different cups for different colors.

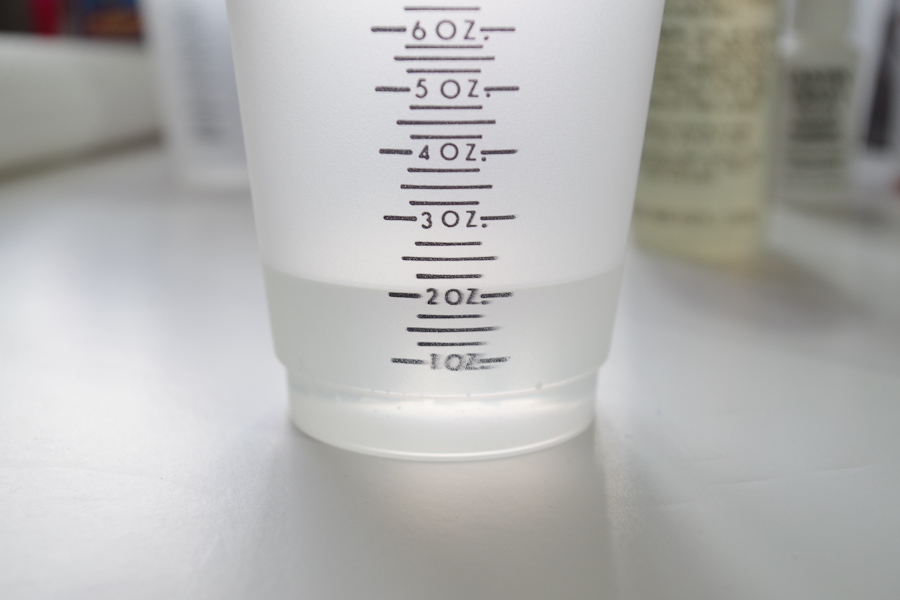
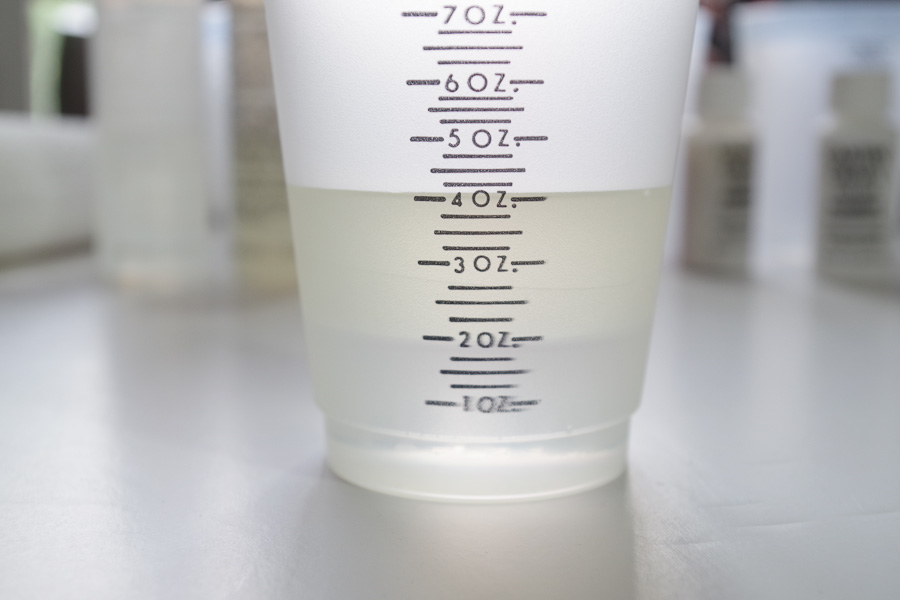
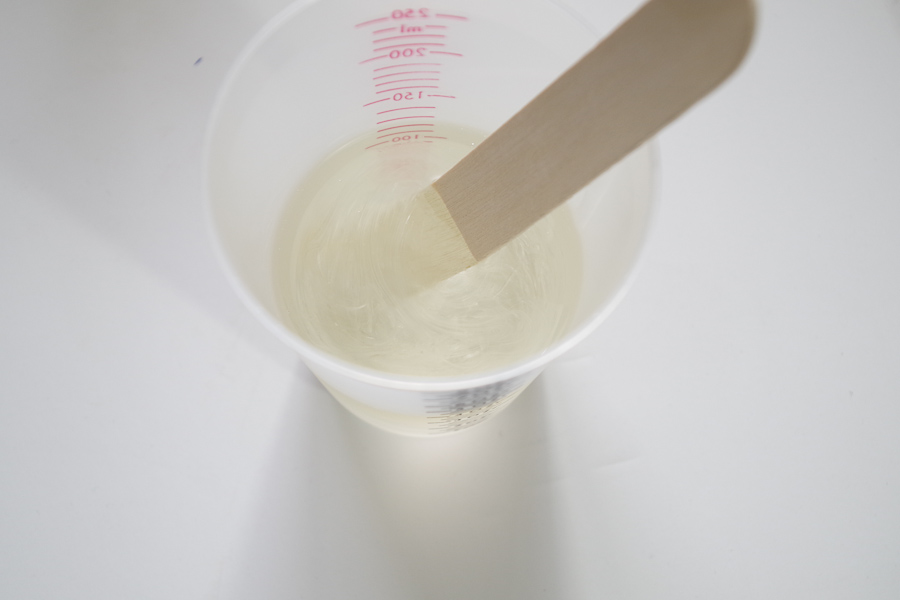
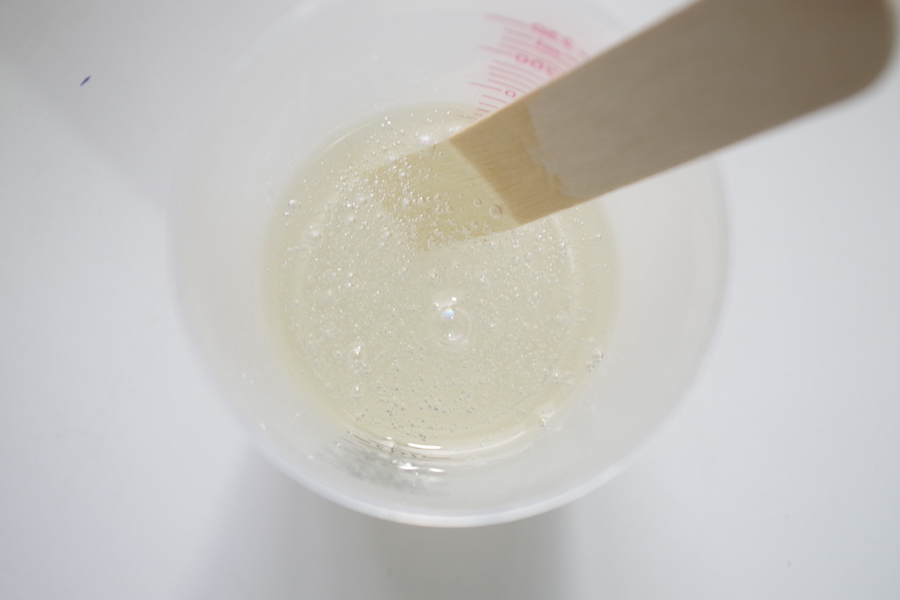
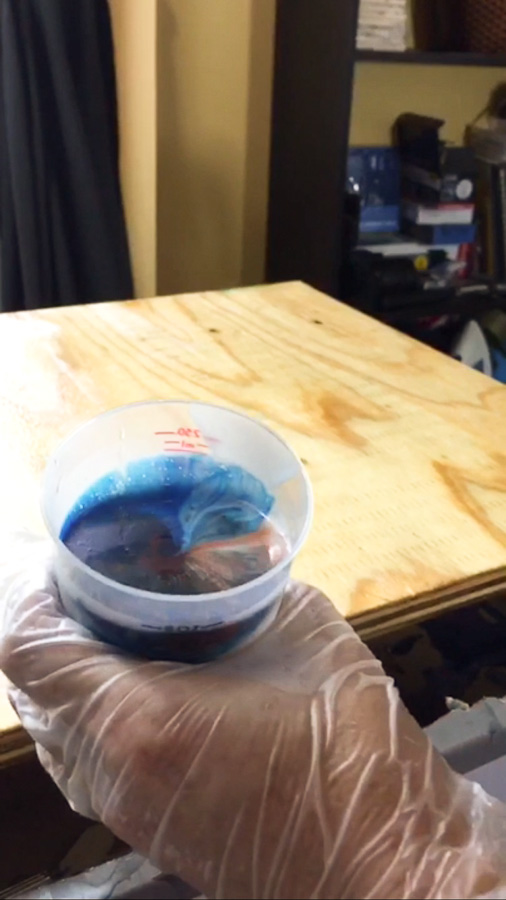
MIXING RESIN:
When you mix the resin, you’ll need to add exactly the same amount of Part A and Part B. Mix thoroughly with a stir stick, making sure to scrape the sides as you go. Now pour into smaller amounts in different cups and add color pigment or acrylic paint to the resin to change each color. I used 6 colors, but you can use as many or as few as you’d like. I used white, blue, green, purple (mixed red and blue), white with glitter, and copper acrylic paint.


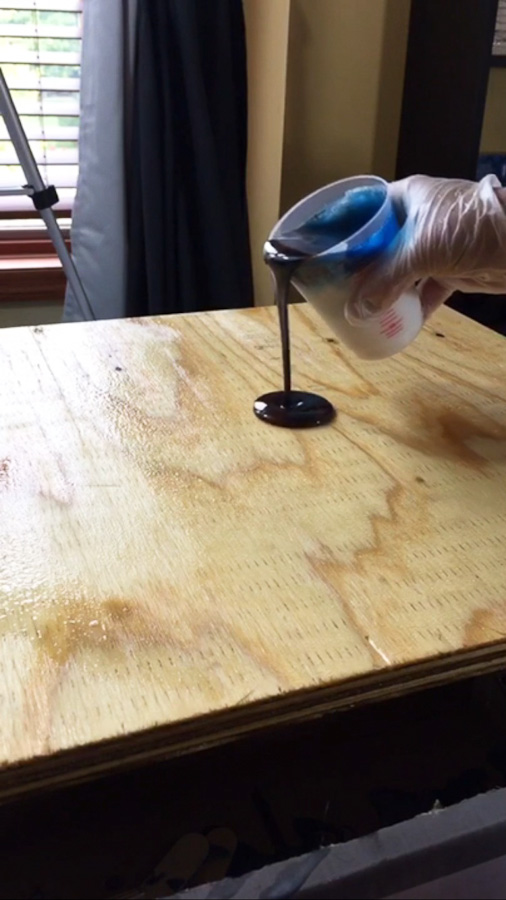
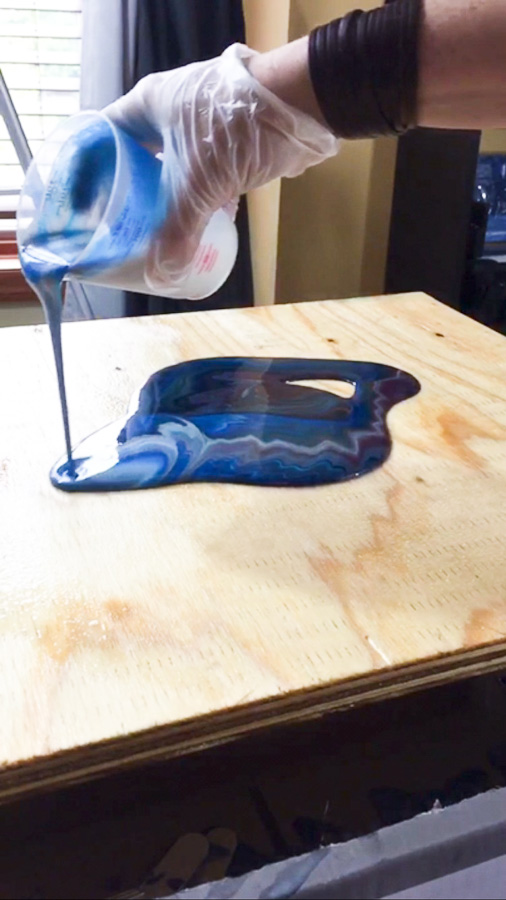
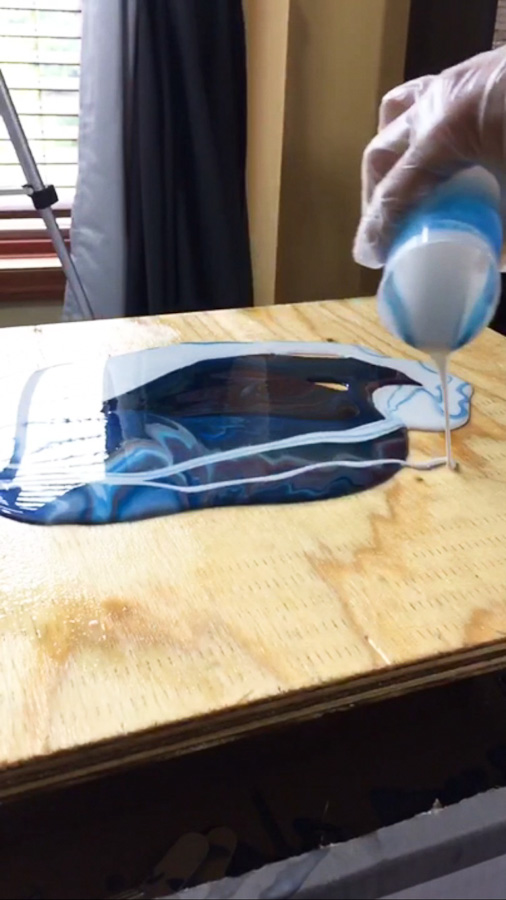
POURING THE RESIN:
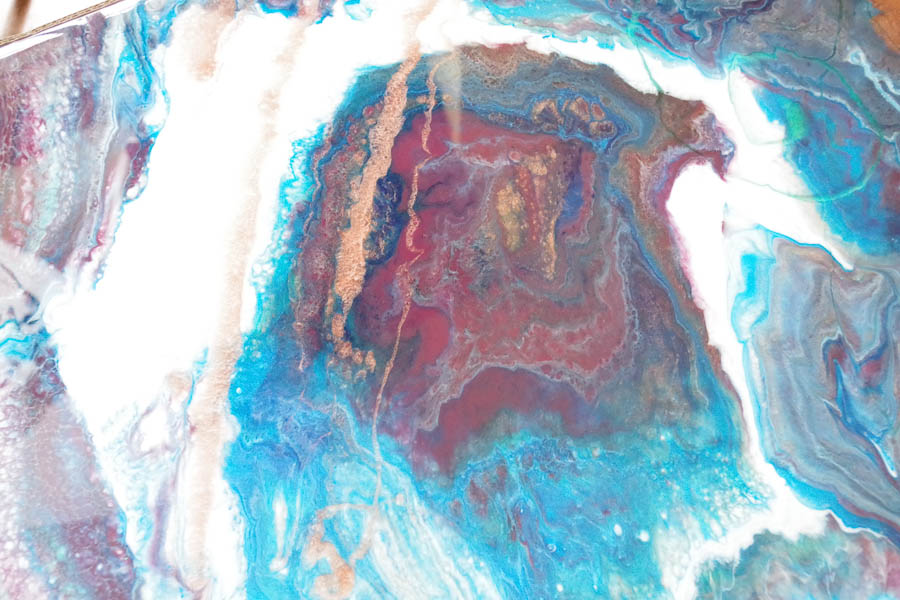
Decide on one cup to be your first pour cup. Pour a bit of each of the other colors into this resin. White was my main cup, then I added blue, green, purple, glitter white, copper then did it over again one more time until the cup was pretty full. Pour that cup into the center of your canvas. Actually, you can pour it anywhere since you’re making art, it’s just whatever you want. My first pour wasn’t enough to cover the canvas, so I did a second one using more of each color of resin. Check out all those amazing colors and patterns! After that pour I still needed a little on the edges, so I took each color cup and just poured it into the bare spots. I even poured some of the colors over the top to add a little more character. You can do whatever you want!


POPPING BUBBLES:
Every resin project I have done has had tons of bubbles. No big deal though! All you need is a micro-butane torch to quickly run a flame across the top of the resin and it will pop all the bubbles. Sometimes it helps to wait a short time after the pour, like maybe 10 minutes, then come back and pop the bubbles. This ensures that most of the air pockets will have risen to the top.

LET RESIN WALL ART CURE:
Alright, so the final thing is to make sure your artwork is in a clean place where no dust or debris will land on it. Let it cure for 24 hours.

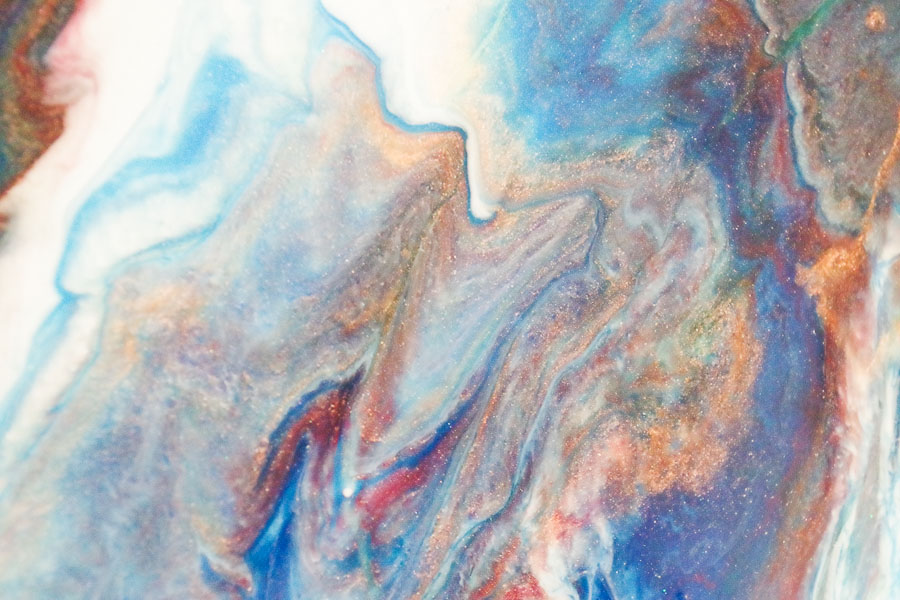
Check out all the amazing patterns. These will continue to change slightly as the resin settles and mixes together.
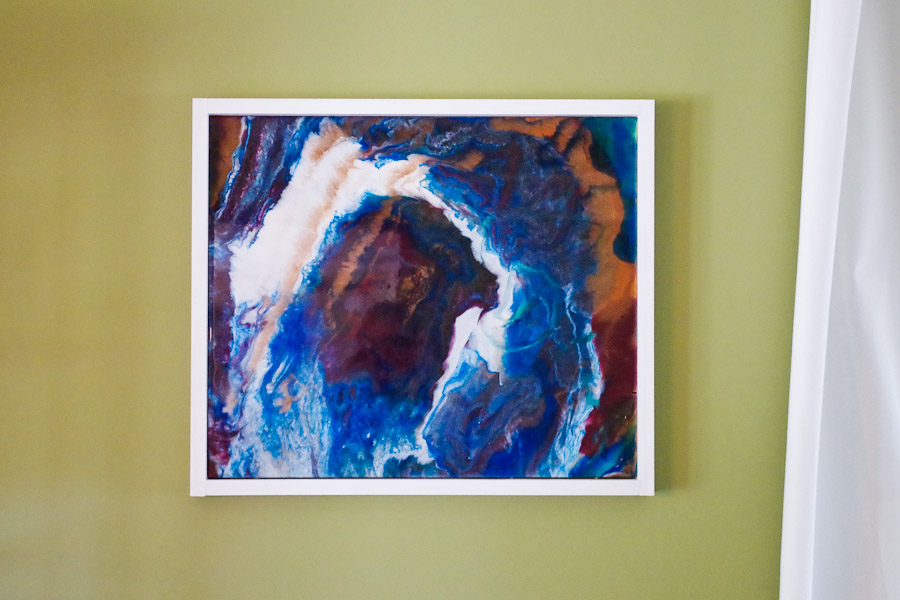
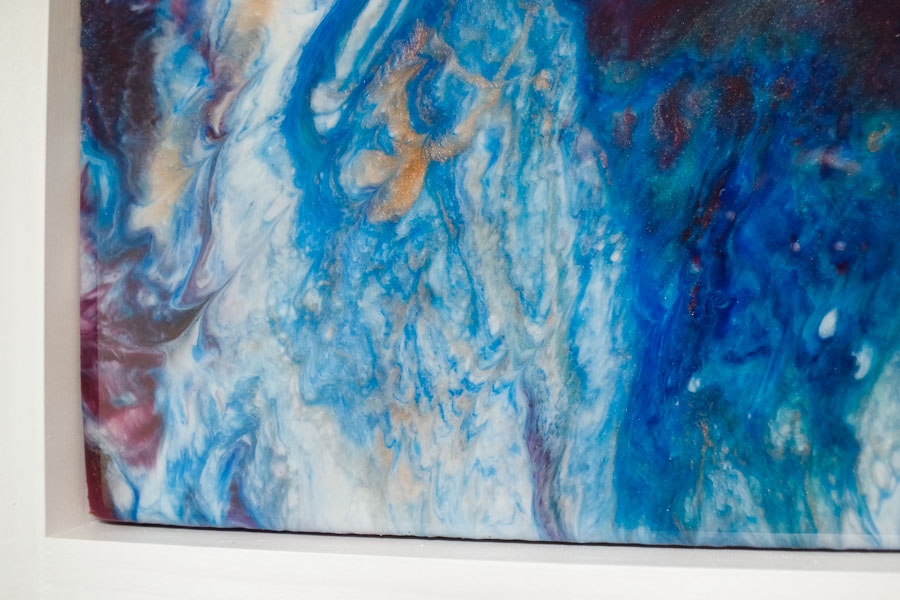
ALL DONE – COLORFUL POURED RESIN WALL ART!
Now just stand back and enjoy that amazing artwork that you made. Check out the patterns, the sparkle in the metallic paints, find hidden images or your favorite design and just appreciate how easy it was to make something so awesome! Frame it if you’d like, or just leave as is! (I added a white frame.)

If you like this project, please share via social media! Feel free to comment also and let me know what you think or if you have any questions!
~~Sheri
https://resincraftsblog.com/diy-colorful-poured-resin-wall-art/